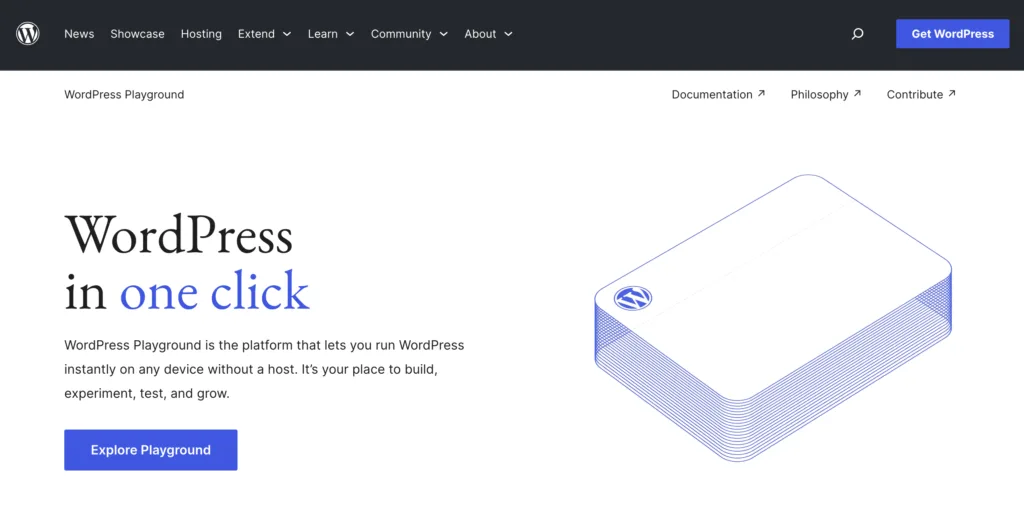
The WordPress Playground is a new tool that provides a fully functional WordPress environment directly in the browser.
It’s built with WebAssembly and can be spun up in a matter of seconds, making it a perfect tool for spinning up your own plugin demos.
This is a fantastic tool if you have a plugin that might need a bit of playing around with before you install.
These demos are great for:
- Letting users test your plugin before they commit to a subscription
- Providing a fully functional environment full of great testing data
- Directing users through a customized onboarding sequence
The best part about this is that it runs directly within the browser, so it’s very fast and fully sandboxed. When the window or tab is closed, all changes & data are deleted.
So how do you actually set this up for your own plugin? Let’s dig in, step by step.
Step 1: Create a Blueprint
The WordPress playground uses blueprints to know how to boot itself up. At a very basic level, you tell it what version of WordPress, what version of PHP, and a few other details when it boots.
Here’s what that might look like:
// blueprint.json

{
	"$schema": "https://playground.wordpress.net/blueprint-schema.json",
	"preferredVersions": {
		"php": "latest",
		"wp": "latest"
	},
	"siteOptions": {
		"blogname": "Hello Dolly Demo"
	},
	"plugins": [
		"hello-dolly",
	],
	"login": true
}
Let’s take a minute to walk through what’s going on here.
First, you’re defining the schema so that playground knows what the options are for your json file.
{
"$schema": "https://playground.wordpress.net/blueprint-schema.json"
Next, you can define the specific version of WordPress and PHP you’d like each instance of playground to run when it boots up.
{
  // [...]
  "preferredVersions": {
		"php": "latest", // or 7.4, 8.0, 8.1...
		"wp": "latest" // or 6.5.5, 6.6, 6.6.2...
	},
Finally, you can define the name of the site, whatever plugins need to be installed, and whether you want the user to be logged into the site (true) or not.
{
  // [...]
	"siteOptions": {
		"blogname": "Hello Dolly Demo"
		// Other site info can be used here
	},
	"plugins": [
		"hello-dolly",
	],
	"login": true // or false to leave the user logged out.
}
Keep in mind, that this is not an exhaustive list of options, just a good starting point.
2. Create A Bootable Link
The WordPress playground has a full list of ways that you can boot it up, but the easiest way is through their Query API.
If you want to boot up an instance for your users, you would upload your blueprint to a public location like a directory on your marketing site or even a GitHub gist:
Once you have a publicly accessible blueprint, you can add it to the Query API like this:
You can even embed your playground right in your website if you use that link in an <iframe> like this:
<iframe width="100%" height="500" src="https://playground.wordpress.net/?blueprint-url=https://gist.githubusercontent.com/tarecord/b1ceb111f2de770378402ac546edc310/raw/f9fb67c0c84fa7a696839fc871ae613bb23e2e15/example-blueprint.json"></iframe>Just make sure that your JSON is valid otherwise you’ll end up with an error from Playground that “you don’t have any playgrounds yet”.
3. Use Your Playground Everywhere
The playground is a huge step up for plugin developers everywhere and I can think of so many different use cases for it.
Once you start playing around with it, I think you’ll start thinking of new ways it can help you market, support, and push your plugins to the next level.
I’m curious, have you heard of the WordPress playground before this week?
Have you already implemented it in your process? I’d love to see how you are using it.


