Flywheel—a managed WordPress hosting provider—saw a need in the community for Local WordPress Development tools and created a way for designers and developers to easily create and modify WordPress sites for their clients.
Local By Flywheel is a Graphical User Interface (or GUI — Pronounced “Gooey”) used for spinning up local WordPress development environments. I use it every single day for my WordPress development projects and I think it would be useful for you.
Installation
Installing Local by Flywheel is pretty straight forward and just like any other software you’d use on a Mac. It’s also available for PC, but I’m only going to cover Mac in this article.
In the installation, Local has additional requirements that need to be met before it can finish its’ installation. So you will need to download Virtual Box first, then Local will be able to create a virtual machine where it will house all of your local sites.
Local by Flywheel uses Virtual Box to set up a virtual Boot2Docker machine where it will create a docker container for each site that you set up. This is great because you get the simplicity of a GUI, while getting the benefits of containers (Consistent dependencies and production ready setup).
Initial Set Up
After you have installed Local By Flywheel, there are a few things that you’ll want to know before jumping straight into development.
Each Site You Install lives in its’ own isolated container
That means that the container isolates each site from everything else on your computer. So you can’t directly reference something on your machine. You’ll have to map directories if you want to access it—which we’ll get into another time.
Local, by default, automatically links the site directories in the container to a location you specify on your machine. So if you edit the wp-config.php on your machine, you are actually editing the wp-config.php in the container too.
This is why Local by flywheel is awesome. You don’t have to actually worry about any of that. It’s all handled in the background.
Setting Up Your First Installation of WordPress
Local walks you through a very easy setup process for each WordPress site that you’d like to create.
When you click the “+” in the bottom left of the window, you’ll see a new screen to begin telling Local how you want your site set up.
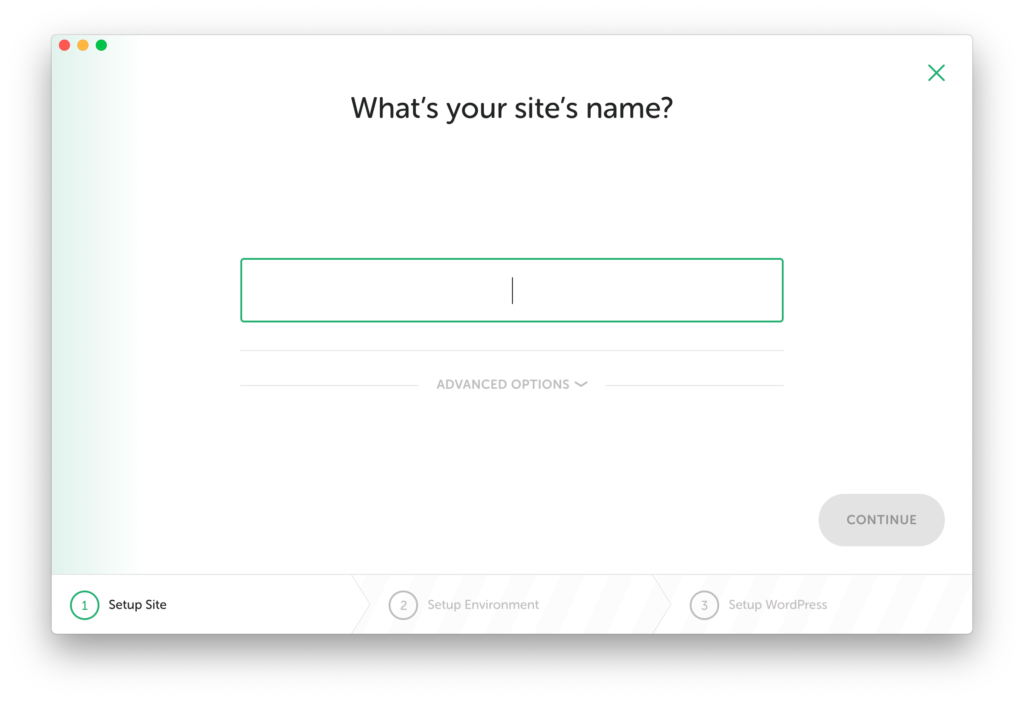
Give it a name, then expand the “Advanced Options” to see the specifics of how your site will be set up. In this panel you can set a domain, choose an install directory, or use a blueprint.
Blueprints help save time when creating lots of similar sites. However, I don’t use them and I’ve created a lot of local sites with this tool.
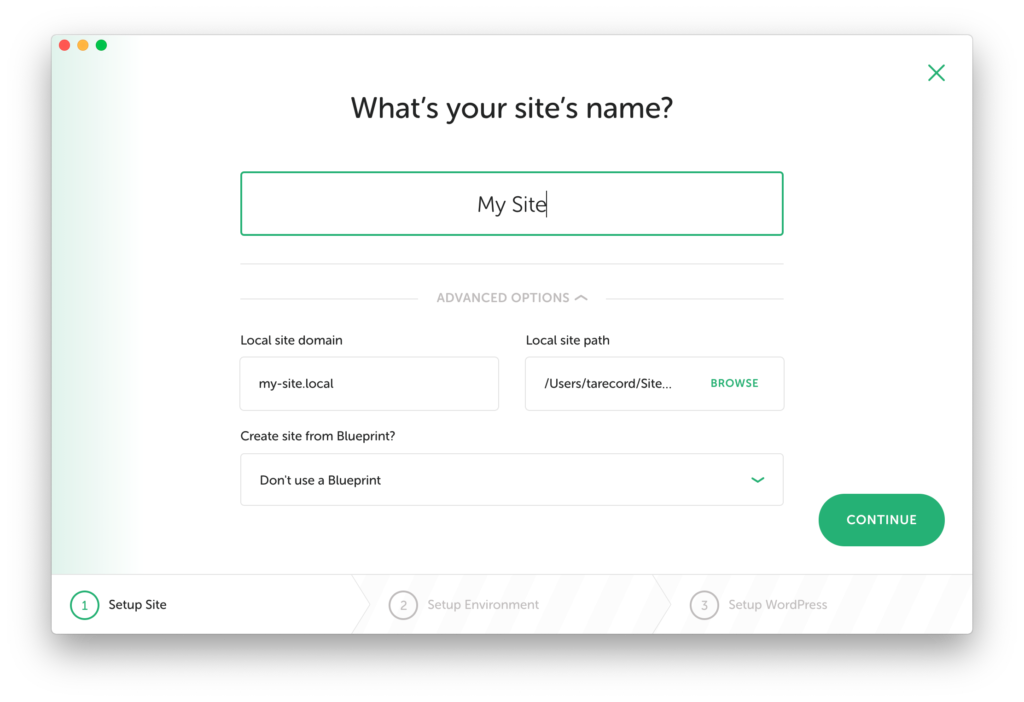
Give your site a nice domain. I usually stick with the one suggested so there’s no question whether or not I’m looking at the local site. Seeing “.local” in the domain is pretty reassuring.
You might want to tweak the site path too. I keep all of my sites in the same place within a sites directory in my user folder. It just makes things easier when they’re all together.
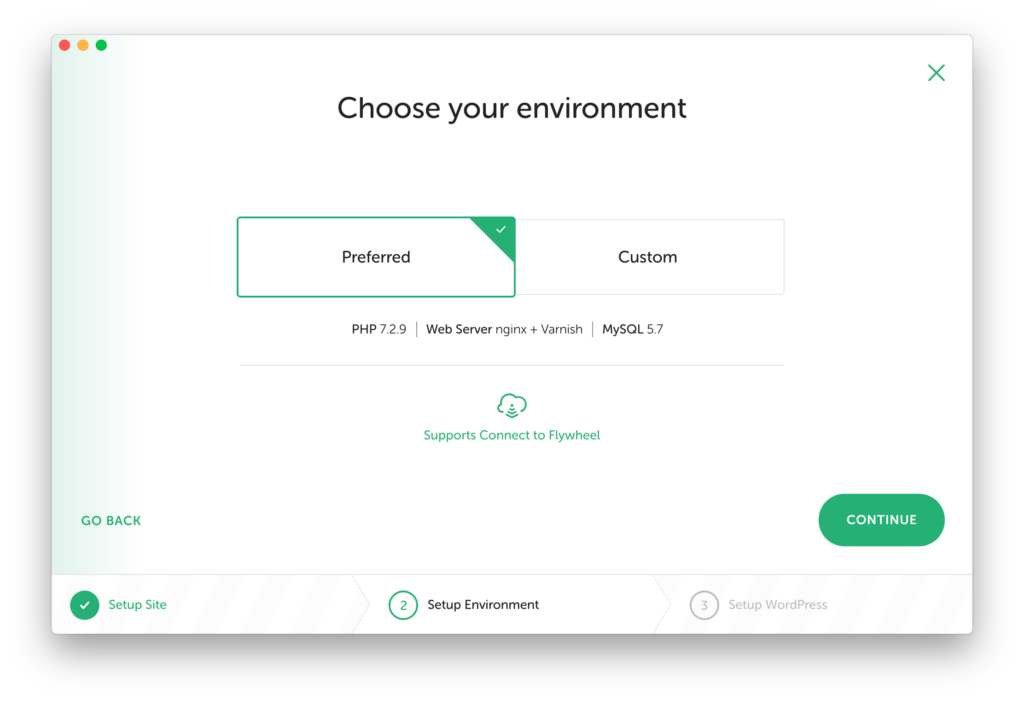
On the next page, Local is going to ask you if you want their suggested environment or a custom one.
Unless you have a specific PHP version you need, the preferred should be fine.
On the last step, you’ll want to create your admin user so you can log into the site when it’s created. Also, in the “Advanced Options” you can choose to create the site as a Multisite if you need to.
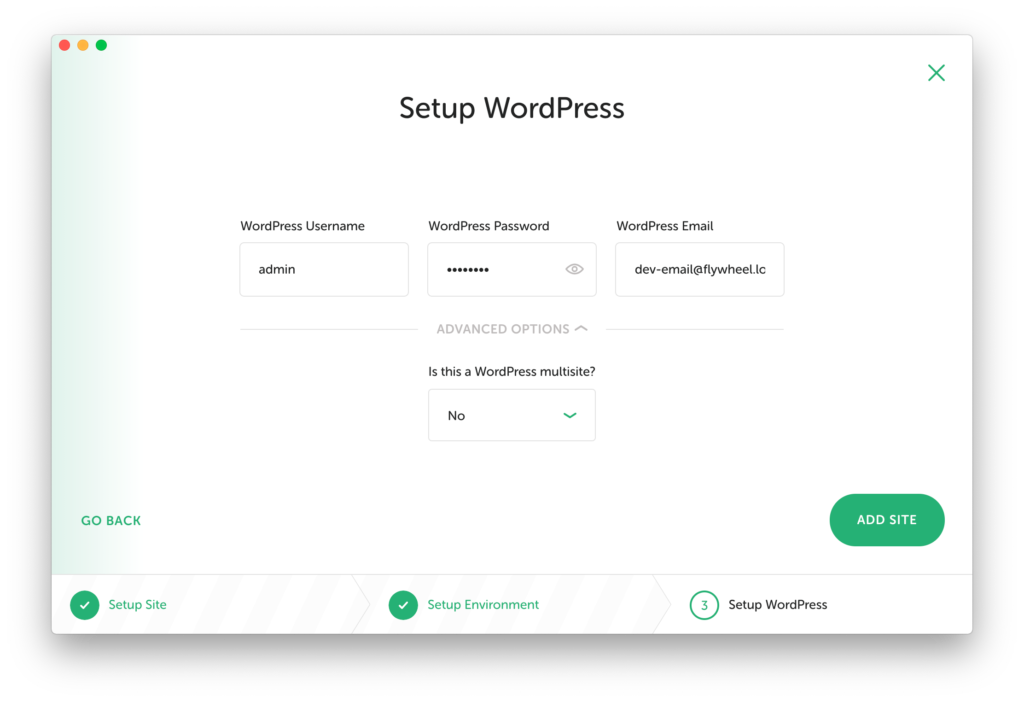
Once you click “Add Site” Local will begin installing your local WordPress site in the directory you specified with the domain you added. Make sure you put in your system password when prompted, there are some files Local needs permission to modify.
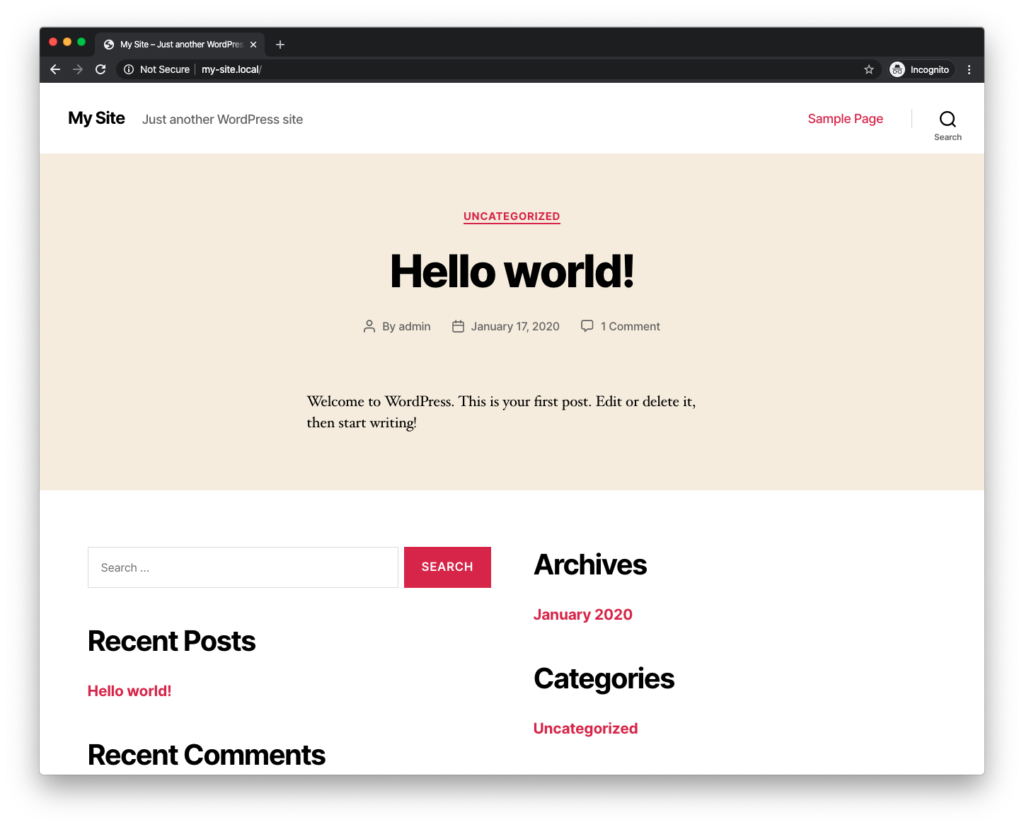
Now, I can navigate to my-site.local and I have a fresh WordPress install.
Wasn’t that easy?


One response to “How To Use Local By Flywheel For Local WordPress Development”
[…] How to Use Local by Flywheel for Local WordPress Development […]